Pages

Friday, March 22, 2019

Tamarind Spiced Meatballs

Tamarind Spiced Meatballs


December 2018, my husband I went to Cambodia to learn more firsthand history about the tragic time under the Khmer Rouge. Angkor Wat was also a reason we went. The food - meh - sure it might be good, but that wasn’t why Cambodia was on my bucket list. I was so wrong! While moved by all the reasons I went, I have spent the months since I returned looking for Khmer food! No luck - not even in Tokyo! So I’ve ordered cookbooks and ingredients liked dried lemon grass and prahok paste online to recreate the fantastic flavors of Cambodia, but it’s not come together as I wished until our base commissary started to carry Zas seasoning. I was pushing the cart, looking for who knows what - and a NEW display caught my eye. (New items in the commissary are flashy like gold!) I bought one and thought what could I make?

Naturally with a seasoning blend, you must try it - dip a little spoonful out and taste it on your tongue. But I found myself tasting again. And again. And again. The flavors danced on my tongue the way our meals in Siem Reap did - with a different tantalized taste bud wherever the spice hit. So my mind started turning - what could I make???

Well, my middle school 8th grade team have a lunch prep rotation and I often make meatballs - prepare ahead and warm in the crockpot. So off I concocted - tamarind meatballs.

Now, keep in mind - I’m the ELA teacher and math is not my forte, which also seeps into my cooking skills. I literally don’t measure when I cook - so this is a best guess.
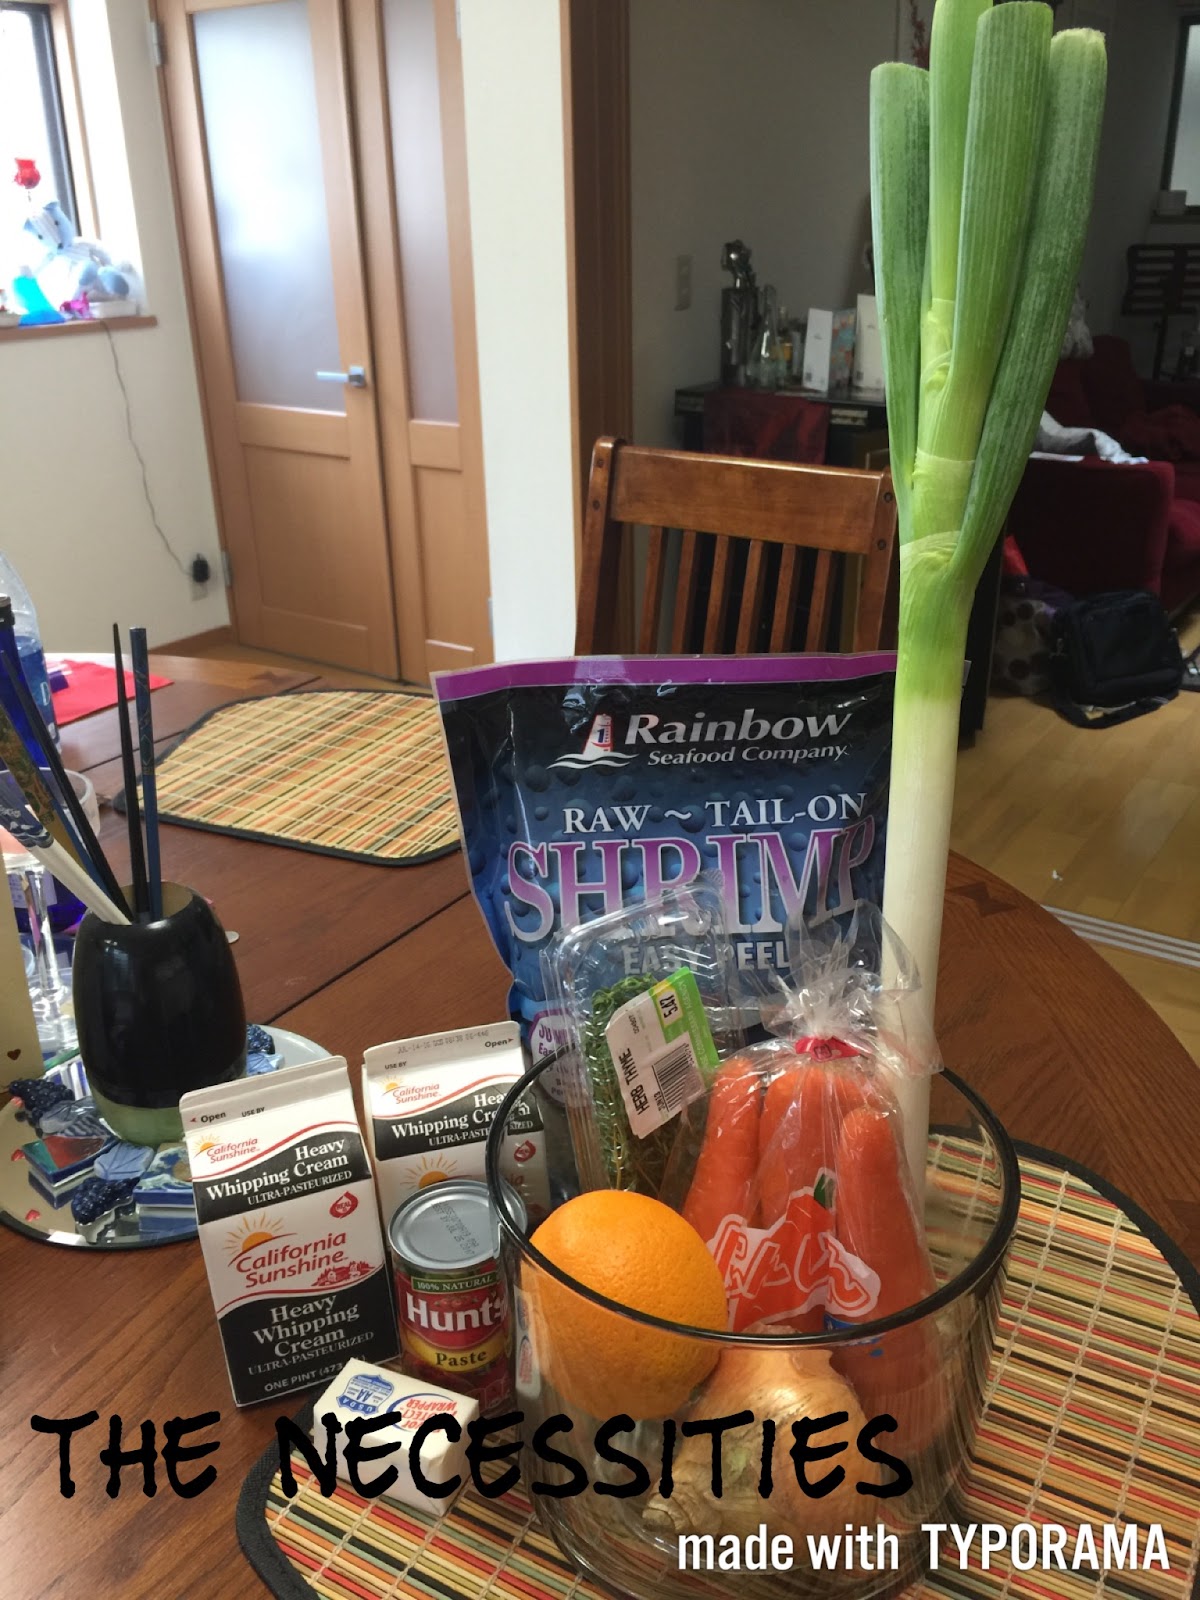

Ingredients:

ground chicken, pork & beef (local market)
Worcestershire (¼ C or more)
Celery - one large Japanese stalk - finely diced and sautéed till translucent but still crunchy (5 minutes in evoo)
Bunch coriander/cilantro finely chopped - stalks and leaves
Panko bread crumbs (eyeball it based on how much meat purchased)
Garlic - heaping spoonful
Chives
Splash lime
Egg
A big palmful of Zas - with more to add to each meatball

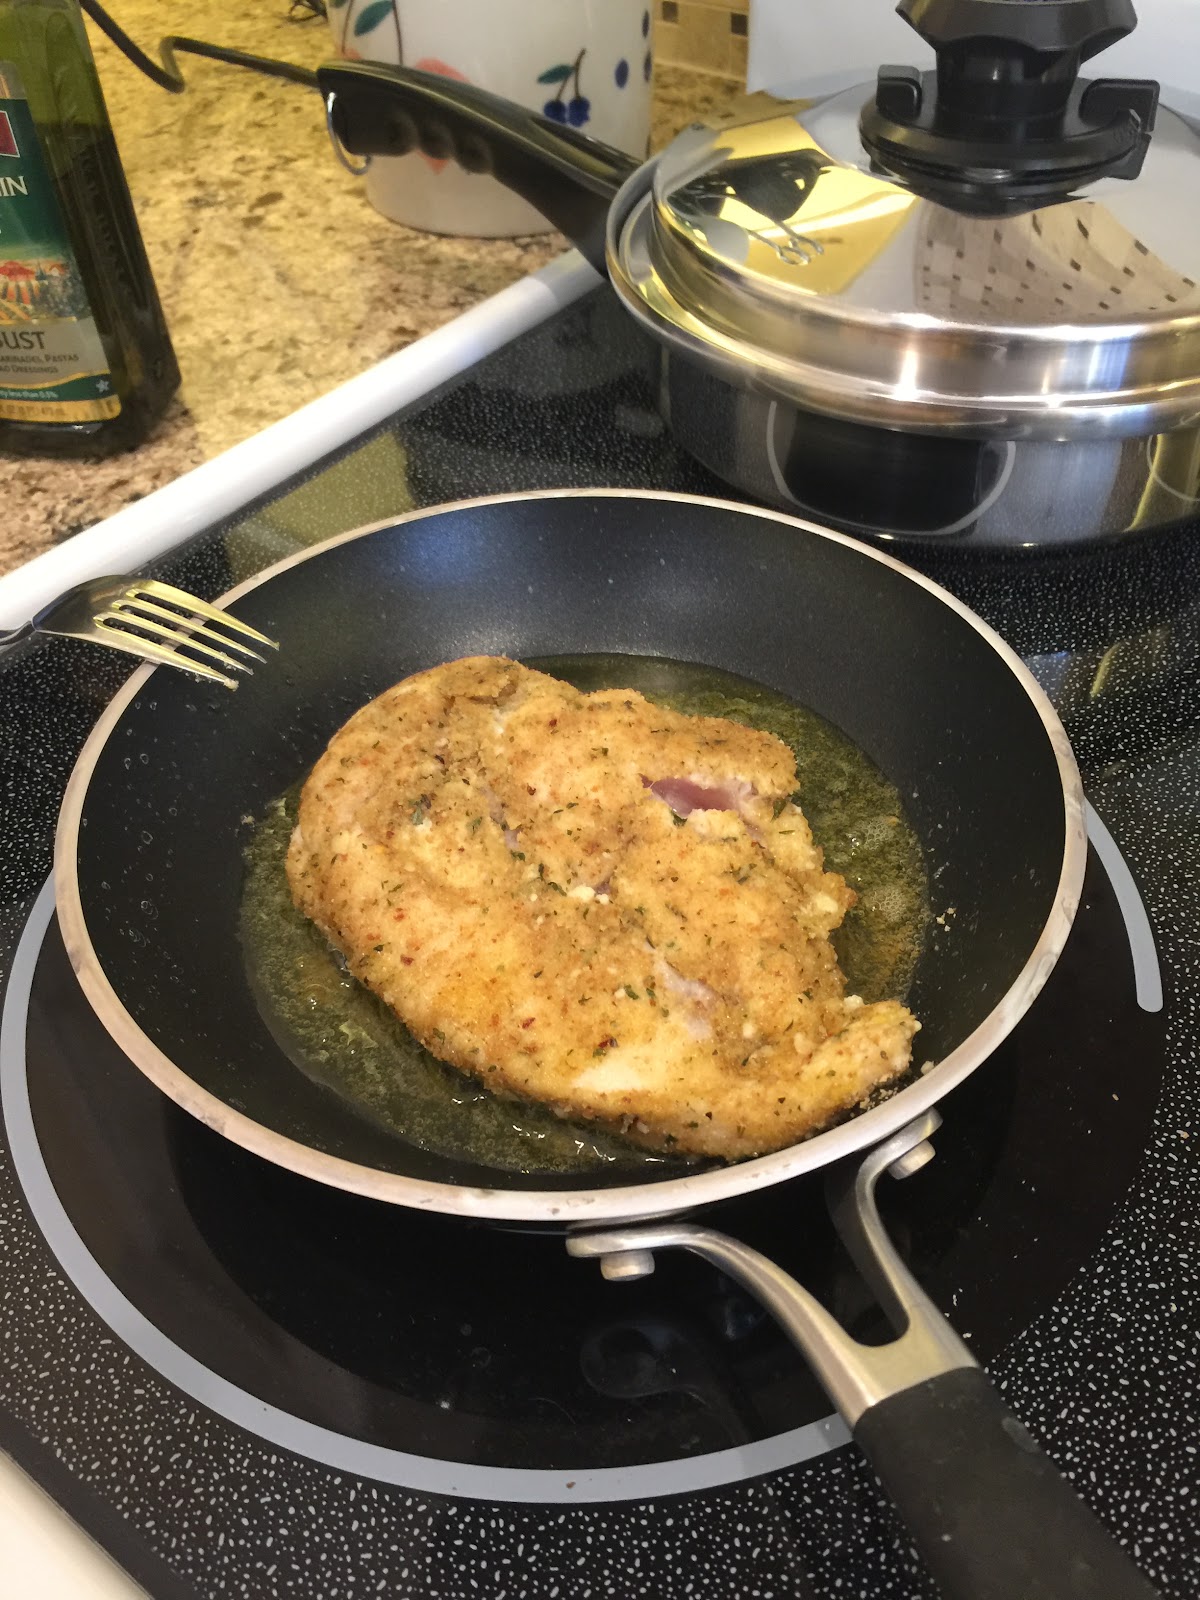
Heat a skillet with EVOO and form your test meatball. Brown for about 7 minutes then transfer to a preheated 350 degree oven. Bake for 15 minutes (depending on size of meatball).

Adjust seasoning - to taste.

When I am ready to make the bunch of meatballs, I pour the tamarind into a bowl so I can ensure each meatball gets its own zest of flavoring.

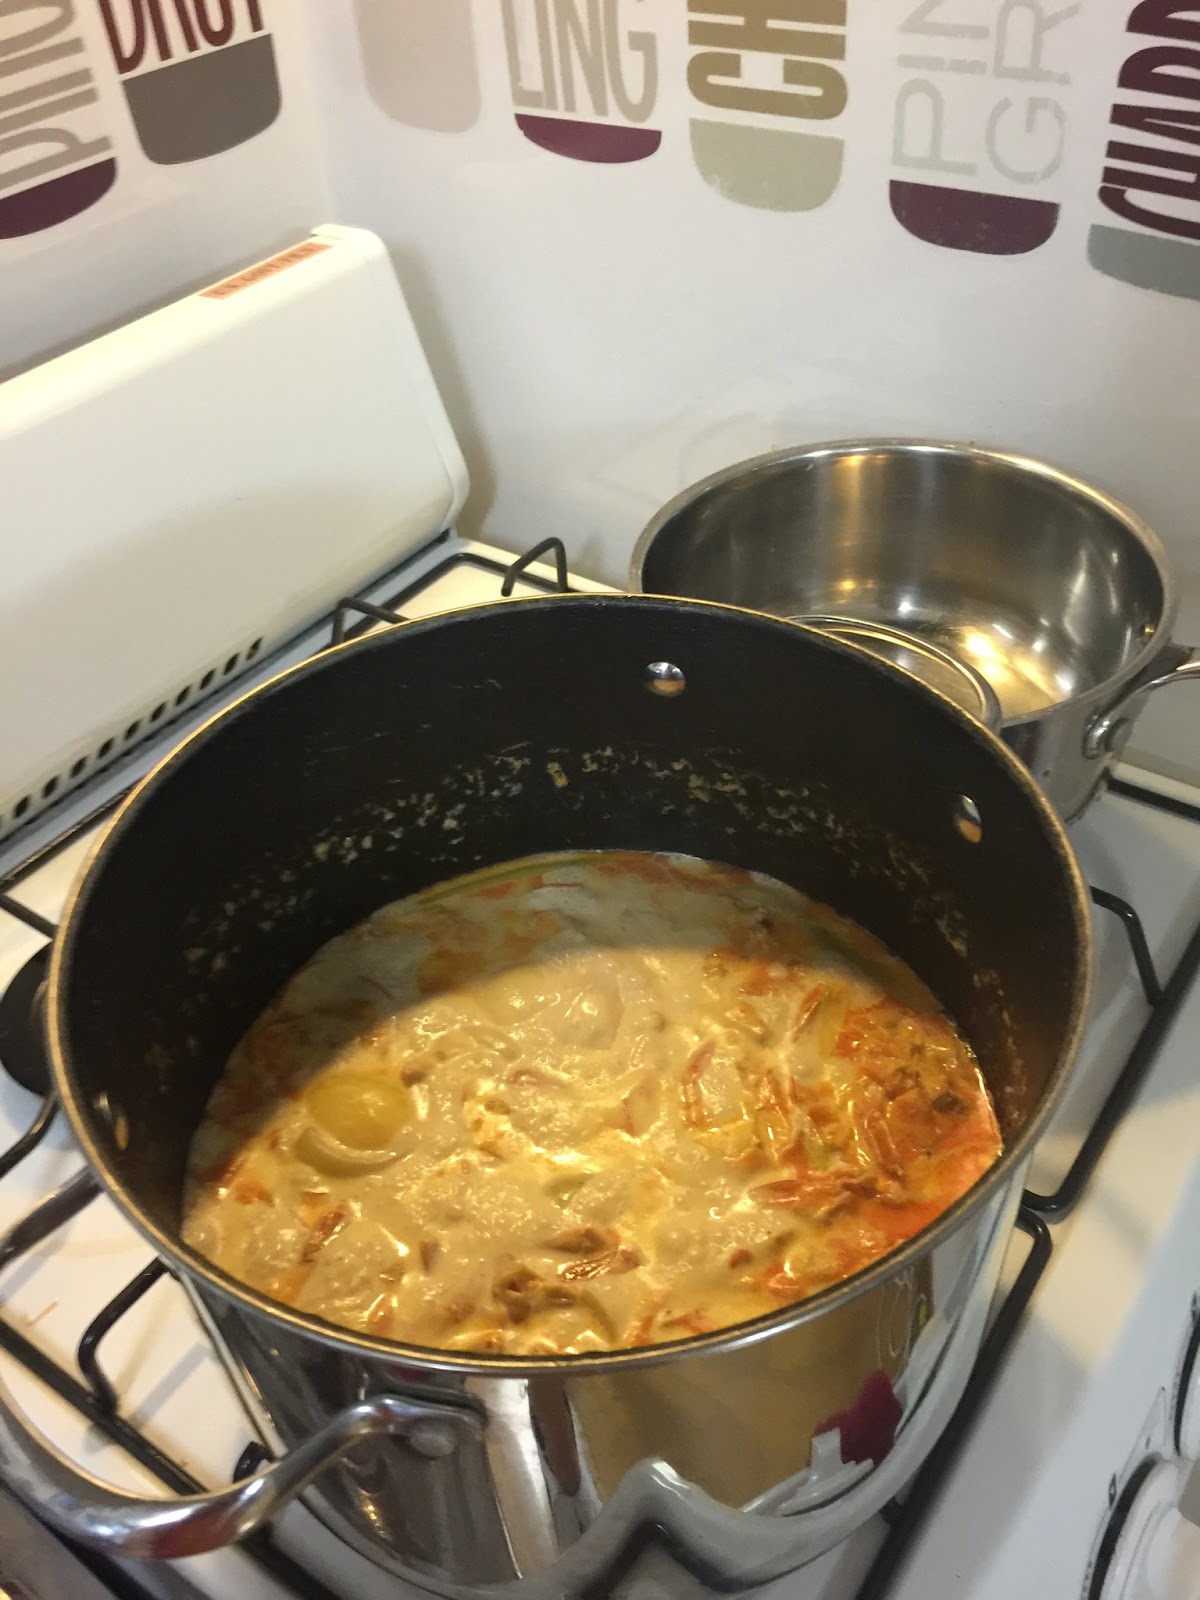
Brown and bake and serve - or store in the refrigerator and warm in the crockpot the following day.

Wednesday, August 16, 2017

Crock pot Chicken Piccata

Currently, I'm a part of a thirty day challenge! Do something every day for thirty days and it becomes a habit! I committed to writing daily! Goal is to actually write some fiction... but inspiration wanes so I will have to do my blogging in the meantime.

Hence, I'm blogging this recipe without pictures! I will have to insert the pics the next time I make this. Because make it, I will! It was fabulous!!! I mean really fantastic! I have made chicken piccata many times. I usually use white meat tenderloins and saute in a lemon caper sauce, but this recipe transformed the dish so that every single bite of chicken was bursting with lemony, buttery yumminess!

Tools Needed:
* Crock Pot
* Kitchen Shears
* Crock Pot Liner (if you don't like to do the dishes)

Ingredients:
* Boneless, skinless chicken thighs
* Flour
* 1/2 onion, sliced
* 1/4 C capers, drained
* 2 cloves garlic, minced
* 1/3 C Sauvignon Blanc wine
* 2 fresh lemons (no bottled juice)
* 2 TBsp melted butter
* 1 TBsp olive oil


First, you will need one package of boneless, skinless dark meat chicken thighs. Using kitchen shears, cut your meat into thin strips. Salt your meat with garlic salt. Add flour to a freezer bag and toss to coat. Spray your crock pot (hopefully shielded with the liner that you can toss when done).

Now, slice your onion, mince that garlic, drain the capers, measure your wine and olive oil, melt your butter, and juice those lemons. Zest a wee bit from the lemon as well. Mix your "sauce" together and pour over your chicken. Cook on low for 6 - 7 hours.

Serve over rice or noodles. I like the Lipton garlic noodles. Top with some fresh Parmesan. Delicious!!!!!

(Pics to come!)


Sunday, August 6, 2017

Philly Cheese-steak Sandwich


Last summer, we stopped in Philly on our travels back home after a summer in the States. My husband had done his undergrad and grad school in New Jersey, so year ago, he spent many a weekend heading to Philly for concerts, ballgames, and cheese steaks. So naturally, he wanted to take me to his favorite spots. His number one: Pat's King of Steaks! 

Now, I always thought of a cheese steak sandwich as being meat with flavors so-overpowered by the green pepper then topped with some provolone cheese served on a soggy bun. In other words, I never found the sandwich to be appealing, perhaps because it was this mall version that stood out in my mind. But I am one to try new things, so we stood in line to try this famous hoagie, and well... it's pretty darn good! No peppers and Cheez-Whiz??? Yep! I'll take another!

So here we are back in Japan... far, far from a sandwich of this sort. But I knew the main ingredients, so I tried to create my own. This is what I came up with and the family loves it!


Ingredients:

* Steak - I like to pay for the good cut, so I bought filet, but then added more meat from the market. My suggestion would be one steak for each person dining.
* Onion - onion cooks well in the crock pot and adds flavor
* Garlic (minced from the jar or fresh)
* Italian dressing seasoning pack
* Worcestershire
* Broth (beef or chicken)
* Cheez-Whiz (oh yah!)
* Buns

Instructions: 

* Line your crockpot with the slow-cooker bag (best invention ever!). 
* Pour one cup of broth into the base of your crockpot; add two cloves garlic and 2 TBsp Worcestershire.
* Slice your meat... thin
* Slice onions
* Add to crockpot
* Cover with the Italian Season packet


* Heat on low, stirring occasionally for about 4 hours. When you find that the meat is cooked to your liking, turn setting to "keep warm" 

When everyone is hungry and ready to eat, you will want to make the meat smaller and drain the broth so that you avoid soggy rolls. My suggestion is to scoop the meat into a colander places over a larger bowl. Cut the meat to the size desired using kitchen sheers. 


When first removed
After cutting


After making your meat bite-sized for sandwiches, return it to the crockpot to warm while you heat up the Cheez-Whiz. Microwave is fine. Slice your bread and top with your meat and heated and cheese! Enjoy!


Monday, July 10, 2017

Rock Crock Sausage Pasta


I'm writing this blog post for me because I want to remember how to make this amazing dish! I stumbled upon a recipe for this last fall, but when I tried it again in spring, the recipe I found on Pinterest just did not work! But tonight's dinner did! And I want to make it again and again.

Ingredients and instructions:

Pampered Chef Rock Crock!!!!!!

Step 1:

1/2 pkg of Johnsonville Ground Italian Sausage (mild)
3 cloves of garlic, minced

Add sausage to the rock crock and cook on low on your stove for about 6 minutes. Stir to break up the meat. Add the garlic for another minute or so. 


Step 2:
Measure the following:
3 Cups chicken broth
1 jar of marinara (12 oz)
2.5 cups of medium size pasta shells

Add the broth, marinara and shells to the sausage mix. Cover and bring to a boil. Meanwhile, start your broiler. After the shell mixture comes to a boil, reduce heat to low and set a timer for 9 minutes. Stir your pasta mixture occasionally.

Step 3:

Make a crumb topping. I chose to crush a bag of croutons from my local grocery store and mix with some Parmesan. Set aside. 


Step 4:

Cream cheese (8 oz)
Your pasta should be "al dente" after your nine minutes, so then add the cream cheese. (8 oz). My video is not very exciting, but you can see the bubbling meal as we put in the final ingredient and stir it together before putting this dish in the broiler for 5 minutes. Top with your crumb mixture and toast another minute or two. 


Verdict: Seriously... this dish is so good. I have not made many pasta dishes where I didn't pre-boil and set aside the pasta before mixing with the sauce. But this dish has me second guessing those years of water cooked pasta. 


Monday, July 18, 2016

Appetizers Galore


My Aunt Carlen came to visit this afternoon. Whenever I am in town, we usually stop by her house near Orlando at some point or another and she always has this amazing spread out... My Aunt Carlen prepares the best brunches and appetizers and everything is always so classy and perfectly put together on beautiful plating. So today, I tried to follow in her footsteps and serve her some delicious appetizer snacks.

Antipasto Bowls:

Who doesn't like an edible bowl? And one that is made of meat???? Well, if you have salami, a cupcake tray and some Italian fixings, you can throw this together easily.


You can make this as simple (or not) as you like it. I chose to marinate the tomatoes in the Balsamic and then set aside. I cleaned the asparagus, diced the cheese and made thin strips of basil. Then I made the salami bowls.


Simply place the salami into the cupcake tray and form a little bowl. There is no reason to spray the pan because the salami will produce enough grease to avoid sticking. Place your tray in a pre-heated (350 degree) oven and let it cook for 7 - 10 minutes. Watch that it doesn't burn.

Remove your bowls and allow them to cool. Then fill them with your Italian fillings. Customize! It's delicious, eye-pleasing, and fun.

Check out those meaty bowls!


Crab Ragoons:

I make crab Rangoon in wonton when I am at home in Japan. Wonton wrappers seem to be easy to find. I must not have know where to look at Publix, so I ended up Phyllo pre-made shells. Oh... Score!!!! Now this is a recipe I just made on the fly and really didn't think to chronicle. I wasn't sure how it would turn out. In fact, I had a script prepared when they turned out horribly.

I did not need the script. They were the hit.

Ingredients:

1 block of cream cheese
1 bag of faux crab sold in the seafood section
2 TBsp garlic salt
Handful of chives
Phyllo cups (I am soooo going to miss these babies when I go back to Japan)

I mixed together the first four ingredients and spooned it into the Phyllo cups, then baked them for 15 minutes in the same 350 degree oven that my antipasto bowls had just warmed in.


Finally, I threw together a few more ingredients to make some mini cheese balls. Another box of cream cheese, some prepared pimento and cheese, a handful of chives... then rolled them in some bacon. A pretzel became the serving device and crackers were set out to compliment. 


If you're wondering about the white cupcake holders in the back, that is simply kielbasa warmed and placed in a bowl of sauerkraut.

So, yes... this was a super simple spread and everyone enjoyed. I was glad to please my Aunt with an eye-pleasing, tasty appetizer spread as she so often creates for me.


Saturday, July 16, 2016

Chicken Parm and then some...


Let's start this blog post with this fun fact... I'm in Florida for the summer, so time spent in the kitchen is 100 times easier (and prettier) than the days spent in my Japanese kitchen. So, know that these are still my photos, but this is my Mom's granite kitchen counters. I haven't moved! 

With that said, I am indeed visiting my Mom for the summer months and she has a list of favorite items for me to cook. One is chicken Parmesan. Before heading to Publix to buy my ingredients, I had to check what she had and I found two items of interest... a container of fresh Pecorino Romano cheese and a packet of Tuscan Farmhouse Blend with Sea Salt. My wheels started churning... how could I doctor up my already delicious meal with these two gems? Insert my new summer staple ingredients and the meal transformed:


Normally, I make my breading with Italian flavored bread crumbs, shaker parm, and a sprinkle of Good Season's Italian salad dressing spice. Well, today, I used these finds instead, and it was so super good that I've been using the mixture in so many ways! First, let's look at the chicken.

When looking at your coating, consider your salty preference. I used about 1/4 C of bread crumbs along with a TBsp of the cheese and 1/2 TBsp of the herb mixture per chicken breast. I mixed my breading, added flour to the plate (separate... not mixed with the breading), and then made an egg bath (whisked an egg in a bowl). It looks like this:


Start a frying pan of olive oil (just a bit... maybe 1/4 C) on the stove. Pre-heat your oven to 375. Then dust your chicken in the flour, dip in the bath, and coat generously with your breading. As long as the oil is hot, you may gently place it in the pan and brown each side. Watch it carefully. You won't want to cook it in the pan... just get it crispy.


After you have crisped up your chicken, the tedious part is over. Put it in a baking dish (sprayed with olive oil) and cook it for about 10 minutes and then check. It's so important to keep an eye on your chicken because you can't undo overcooking! Once it appears to be mostly done, you will top it with your favorite tomato sauce and, of course, mozzarella cheese and return your dish to the oven for its final five minutes. If your chicken breasts are bigger, you will want to cut them in half if the middle isn't cooking quite evenly enough.

I served this dish with zucchini slices and a pasta and you guessed it!!!! I used the cheese/herb mixture as the seasoning for the veggies and as a topper on the pasta and (again) on the chicken. This stuff is so good!

How might you get this herb mix? Well, I think my friends in America and abroad can enjoy this just as easily. This mix is made by the Salt Sisters and you may order the mix online at Salt Sisters Online. I have linked to the Tuscan blend, but there are so many other items! Dips, rubs... even drink mixes!!!!!! I will be putting in a serious order while I am visiting the states this summer, and those salts are coming home in my suitcase with me. This took my very awesome chicken parm to a new level.

And wait till you see how I've used this herb blend in my other recipes this summer. It doesn't stop here.


Wednesday, June 22, 2016

Silky Shrimp Bisque


This recipe is adapted from Tyler Florence's Ultimate Shrimp Bisque which can be accessed from the Food Network site. Living in Japan, I simply have to adapt most all recipes for what ingredients that I can access, but with this one, I got pretty lucky.

 - Shell-on Shrimp (about 1.5 pounds)
- 1 orange
- Olive oil
- 3 TBsp unsalted butter
- 2 leeks (trimmed and cleaned)
- onion (halved)
- Carrot (peeled and chunked)
- 3 fresh thyme leaves
- 2 TBsp tomato paste
- 1/4 cognac (that's all I can get here... but maybe you can find brandy)
- 3 TBsp flour
- 4 C heavy cream
- salt, pepper and seasonings of your choice - I use some Pampered Chef Three onion and I do go a bit heavy on the salt, as I feel it's needed.

For the shrimp:
- damp skewers, Old Bay Bay, Paprika

Garnish: Chives and parsley and orange zest

OK, this soup is a bit labor intensive, but is worth it. Use the extra shrimp to make this a complete meal and add some fresh bread and a hearty salad, and you've got a fancy meal to serve to guests.

First set of your time... peeling the shrimp. I was able to buy a bag of frozen shrimp that were already deveined, so that does save you some time. Separate the shrimp from the shells and set aside.

Now you're going to make a roux that really will look pretty bad, but you're not going to end up using those chunks of veggies and shrimp peels in the actual soup, so just bear with it.

Add the olive oil and butter to a large stock pan. Add in the shrimp shells and the chunked veggies (onion, carrots, leeks, thyme and the 2 TBsp of paste). Saute for about 10 minutes. Like I said, it doesn't look pretty.


Remove the pot from the heat and pour in the cognac,and then add the flour, stirring for about 2 minutes. Now cover with water, 2 to 3 cups ensuring you have all the chunks from the pan. Add the heavy cream (4C) and simmer on low, stirring occasionally. You can actually leave it on the stove while you prepare your salad, bread and wait for your guests to arrive.

This pot will soon be drained so that only the flavored cream remains


Once you're ready for the final stage of the soup, you will need another big pot and a large strainer. I need help when doing this, but it can be done alone. Strain all those chunks and shells; you are just left with the heavy cream bisque. Leave it on the stove top and return to heat when you're ready to serve.

Now, I like to use the extra shrimp to make this a meal. I skewered the shrimp and then seasoned with paprika and Old Bay Seasoning. I cooked them in the oven for about 5 minutes (depending on the size and what sort of oven you have). I think the skewers add a nice touch to the presentation and make the meal just that much more hearty.

While you are making the skewers, don't forget to season the rest of the shrimp and then toss in with the bisque, heat so they cook (about 5 minutes as well). Check for seasoning... I really go heavy on the salt at this point.

Zest your orange and serve your silky bisque topped with some zest, chives and/or parsley (and those skewers if you have the serving dishes to accommodate).